Quick and Easy Ways to Convert Machine Embroidery Designs
Embroidery is fun. It also needs the right file type. If your file is not correct, your machine will not read it. This can feel hard at first. But do not worry. You can learn this step by step.In this guide, I will show simple ways to convert embroidery files. I will also share real tips from daily work. If you are working with OFM Embroidery File Conversion, you are already on the right path. Let’s make it easy and clear for you.
What Is Embroidery File Conversion?
Embroidery file conversion means changing one file type into another. Each machine uses its own format. For example, one machine may use DST. Another may use PES.
Why File Conversion Is Needed
- Machines read only specific files
- Designs must match the machine
- Wrong file = wrong stitch result
- Saves time and thread
If you skip this step, your design may fail. I have seen this many times in real work.
Common Embroidery File Formats
Let’s keep this simple. Here are some common file types:
DST Format
- Used in many industrial machines
- Very common
- Good for simple designs
PES Format
- Used in home machines
- Easy to use
- Good for small projects
JEF Format
- Used by Janome machines
- Clean and neat output
EXP Format
- Used by Melco machines
- Works well with text
Knowing your format is step one. Always check your machine manual.
My First Experience with File Conversion
When I started, I made many mistakes. I tried to load a PES file into a DST machine. It did not work. The machine showed an error.
Then I learned a simple rule:
Always match the file with the machine.
After that, things got better. I started using proper tools. My designs became clean. My work speed improved.
This is why I always say: learn the basics first.
Quick and Easy Ways to Convert Embroidery Designs
Now let’s look at simple methods you can use.
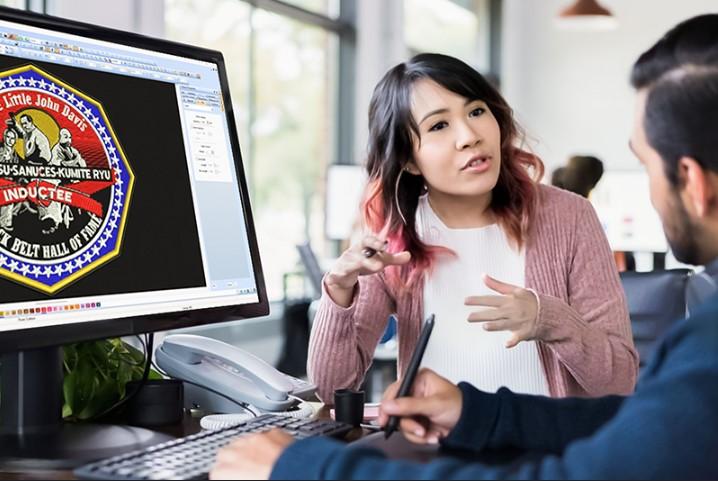
Use Embroidery Software
This is the best way.
Popular Software Options
- Wilcom
- Hatch
- Brother PE-Design
How It Works
- Open your design
- Click “Save As”
- Choose new format
- Save the file
It is fast and simple. Most software tools support many formats.
Use Free Online Tools
If you do not have software, try online tools.
Benefits
- No install needed
- Easy to use
- Free options available
Steps
- Upload your file
- Select new format
- Click convert
- Download file
But be careful. Not all tools give clean results.
Use Machine-Specific Software
Some brands give their own tools.
Why Use Them
- Made for your machine
- Better output
- Easy controls
Example
If you use Brother, use their software. It gives better results than random tools.
Manual Redigitizing
This is not fast, but it is the best for quality.
When to Use It
- Complex designs
- Poor quality files
- Logo work
How It Helps
- Clean stitches
- Better shape
- No errors
This is what experts do. At Embroidery Digitizing Services in USA - Digitizing Buddy, this is a common method for high-quality work.
Common Mistakes to Avoid
Many beginners face these problems.
Wrong File Format
Always check before loading.
Low-Quality Source File
Bad image = bad embroidery.
Too Many Conversions
Do not convert again and again. It reduces quality.
Ignoring Stitch Type
Different machines use different stitches.
Tips for Better Conversion Results
Here are simple tips from real experience:
Always Use High-Quality Files
Clear design gives better output.
Know Your Machine
Check manual before conversion.
Test Before Final Use
Run a sample stitch.
Keep Backup Files
Save original file always.
Use Trusted Tools
Good tools give clean results.
At Embroidery Digitizing Services in USA - Digitizing Buddy, these steps are followed daily to ensure perfect results.
Best Tools for Beginners
If you are new, start simple.
Easy Tools to Try
- Ink/Stitch (free)
- SewArt
- Embrilliance
Why These Tools
- Easy interface
- Good support
- Budget friendly
When to Get Expert Help
Sometimes, you need help.
Signs You Need Help
- File is not working
- Design looks broken
- Stitches are messy
Why Experts Matter
- Save time
- Better results
- Less stress
A trusted name like Embroidery Digitizing Services in USA - Digitizing Buddy can handle complex conversions with ease.
How to Check If Your File Is Correct
Before you stitch, check your file.
Simple Checklist
- Format matches machine
- Design looks clean
- Stitch count is correct
- No missing parts
Test Run
Always run a sample on fabric. This helps avoid waste.
Real-Life Workflow for Easy Conversion
Here is a simple workflow I use:
Step-by-Step Process
- Get design file
- Check format
- Open in software
- Convert to needed format
- Preview design
- Test stitch
- Final use
This method works every time.
Benefits of Proper File Conversion
Let’s see why this matters.
Better Stitch Quality
Clean files give clean stitches.
Saves Time
No need to fix errors later.
Reduces Thread Waste
Less trial means less waste.
Professional Results
Your work looks neat and sharp.
Final Thoughts
Embroidery file conversion may look hard. But it is not. With the right steps, you can do it easily.
Start with simple tools. Learn your machine. Practice often. Do not rush.
If you want top results, follow expert methods. Always check your work before final stitching.
With time, you will get better. Your designs will look clean and professional.
And remember, even experts started as beginners. Keep learning, keep creating, and enjoy the process.